Application Techniques for Gray & White Caulking
Gray and white caulking for boat decks is growing in popularity, and we address the additional considerations for the installation and maintenance of these products, as compared to black caulking.
Teakdecking Systems SIS 440 Teak Deck Caulking in white and gray offer the same performance results as black caulking. However, different pigmentation formulas for these light colors make it necessary to adapt procedures for installation, cure time, sanding, and general maintenance. The light-colored caulk is not as “forgiving” as black caulk and requires more care from technicians during installation, as well as more maintenance during use.
NOTE: Throughout this article, special comments related to gray and white caulking are in bold.
IMPORTANT: The following information is supplemental and does not replace the SIS 440 instructions on the cartridge or foil “sausage” packaging. Read and follow all packaging instructions.
Gray & White Caulking Guidelines
Be sure to work under a cover when possible. Otherwise, only open the length of seams that can be cleaned and re-caulked on the same day.
PREPARATION FOR NEW SEAMS
Proper Seam Preparation is Critical for Caulk Adhesion
1) Sand the open seam. Perform the sanding with a TDS Seam Sander or a similar tool to prep the wood for effective caulk bonding. This step will fair the wood surface, and it will remove the smoothness created by saw “polishing.” The goal is to create a fresh wood surface.
2) Clean & De-Oil. After the wood is prepped by sanding, use a vacuum or air blower to remove sawdust or other contaminants. Teak is naturally oily, so it must be de-oiled for strong bonding to caulk. Perform this by carefully cleaning with acetone saturated lint-free clean cotton rags. Not only does this step remove oil, but it also removes any remaining contaminants in the seams.
Remaining contaminants may show in the cured white and gray marine caulking but are not as noticeable in black caulk.
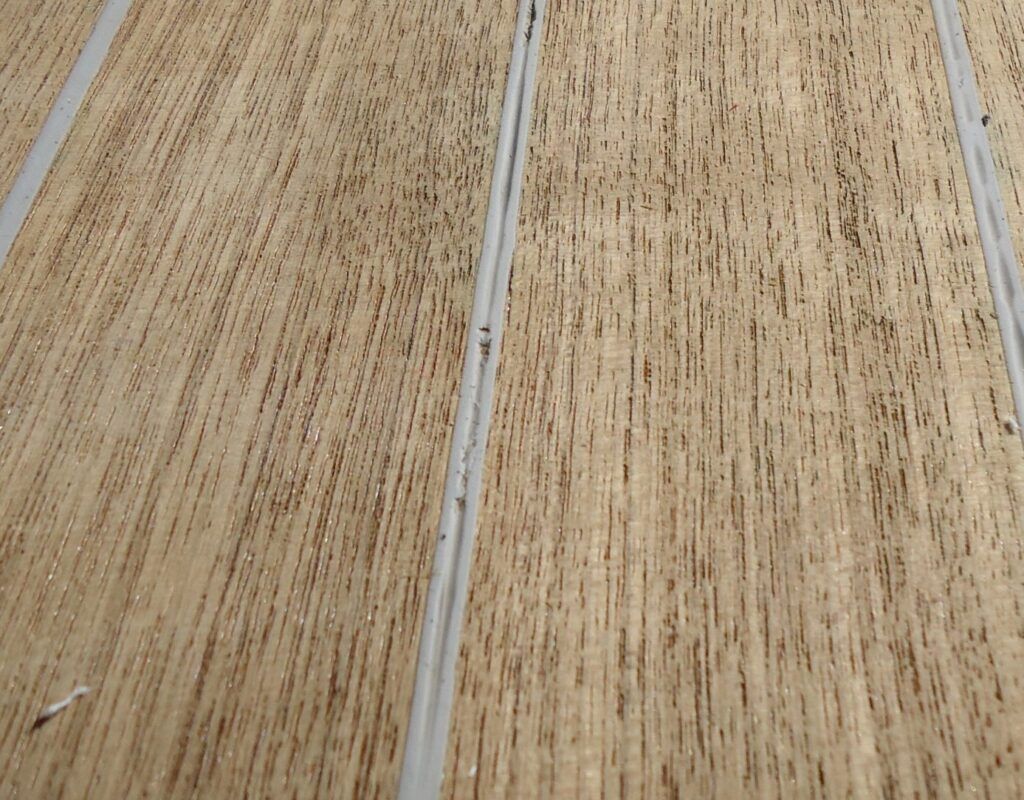
Seam is under-filled with contaminants in the caulk
PREPARATION FOR RE-SEAMING
Fully remove old residue for proper adhesion of caulk. Accomplish this most effectively with a seam saw or router. ATTENTION: Expose fresh wood on butt joints by cutting them or scratching the wood surface with a reefing hook. These joints are most susceptible to inadequate prep and caulk filling.
Note for Bedding Compounds:
Residue may be present on a new deck if installed on bedding material. Remove all this residue and follow steps 1 and 2 for “new seams” (above).
Seam Prep: After removing all residue from the new or re-seamed deck, continue with the same instructions for new seams: sand, clean, and de-oil before beginning to fill seams with caulking. Failure to take these steps may cause seam failure.
IMPORTANT: Seam Moisture Content must be 12% or less in surrounding wood. Do not caulk wet seams. This requirement is often overlooked and will cause seam failure. Initial bonding may be achieved, but as the wood dries it will stretch the caulking and the weakest bonds will break. Flexible one-component bedding compounds exacerbate this condition.
CAUTION:
Do not use wood primers intended for other caulk products. This will prevent adhesion of the TDS product, void the product warranty, and may cause staining within the cured caulking.
FILLING THE SEAMS WITH GRAY AND WHITE CAULKING
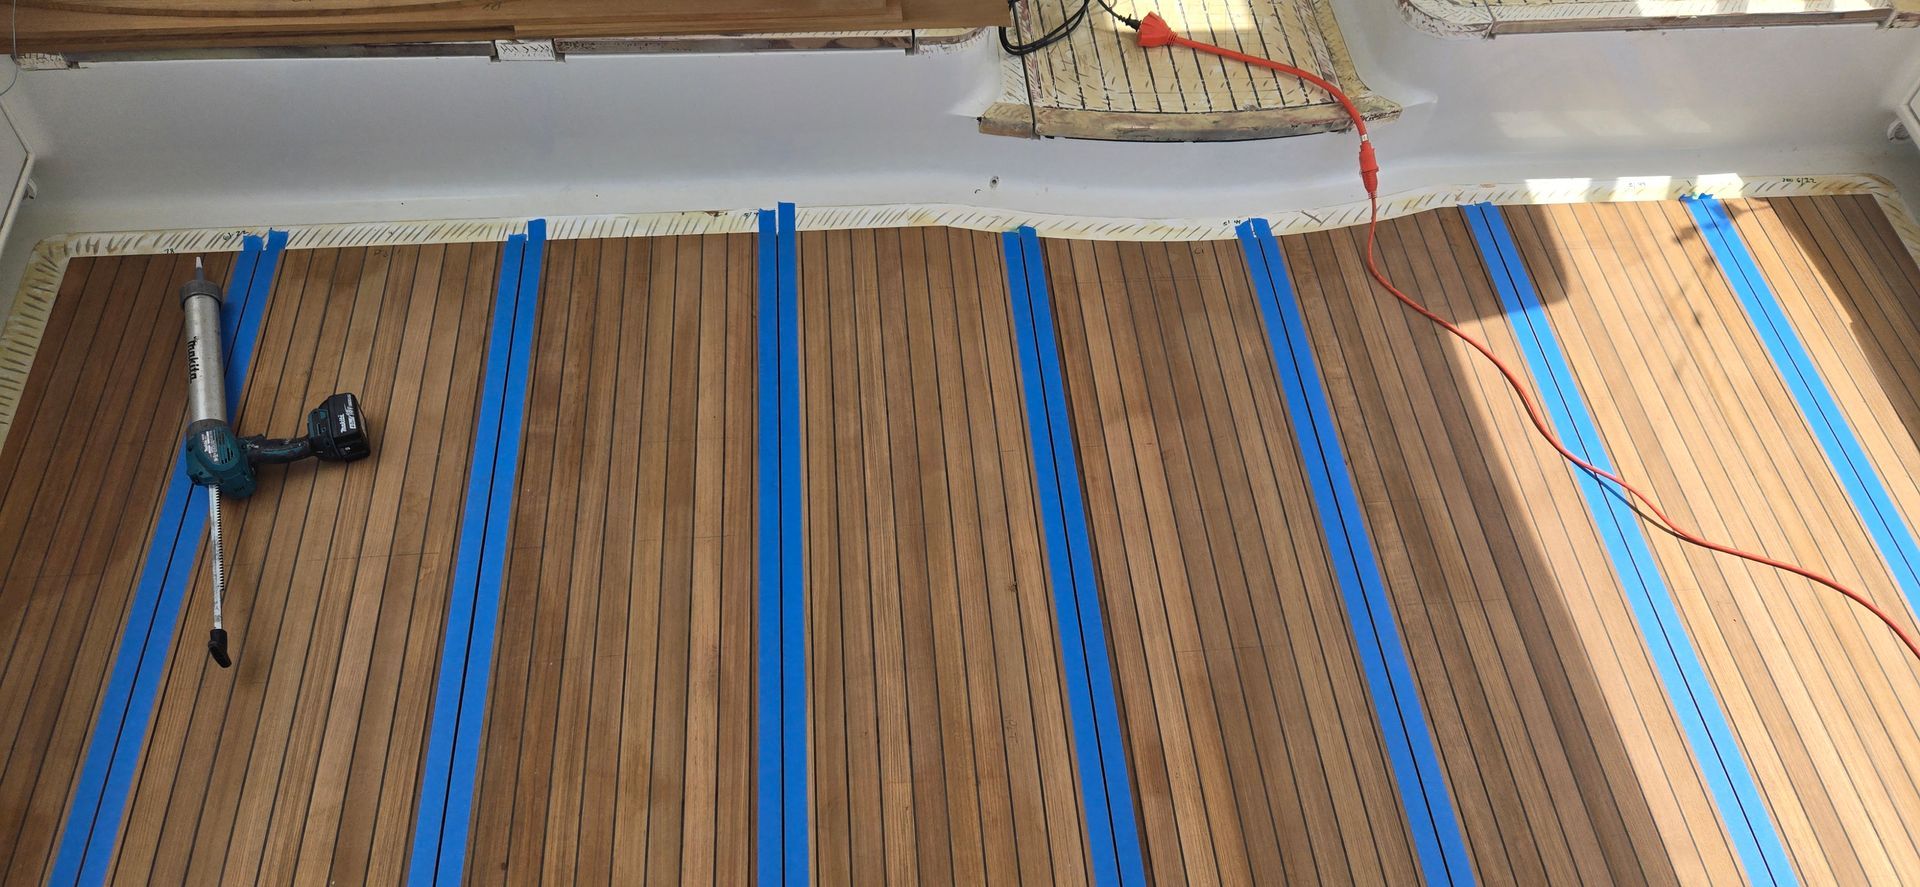
1) Nozzle Prep. To facilitate filling, cut the tip of the nozzle on an angle, puncture foil seal, then squeeze tip with pliers so nozzle fits into the seam.
2) Filling Seams. Fill from the bottom up and slightly overfill. Then spoon to press caulk into seams. Caulk should be proud of the deck surface by 1 to 2 mm after spooning. Let the caulking cure. If caulking cures below the level of the deck surface it may trap contaminants within the caulk. NOTE: Make sure butt joints are completely filled and void-free; this intersection is most susceptible to improper filling and bonding.
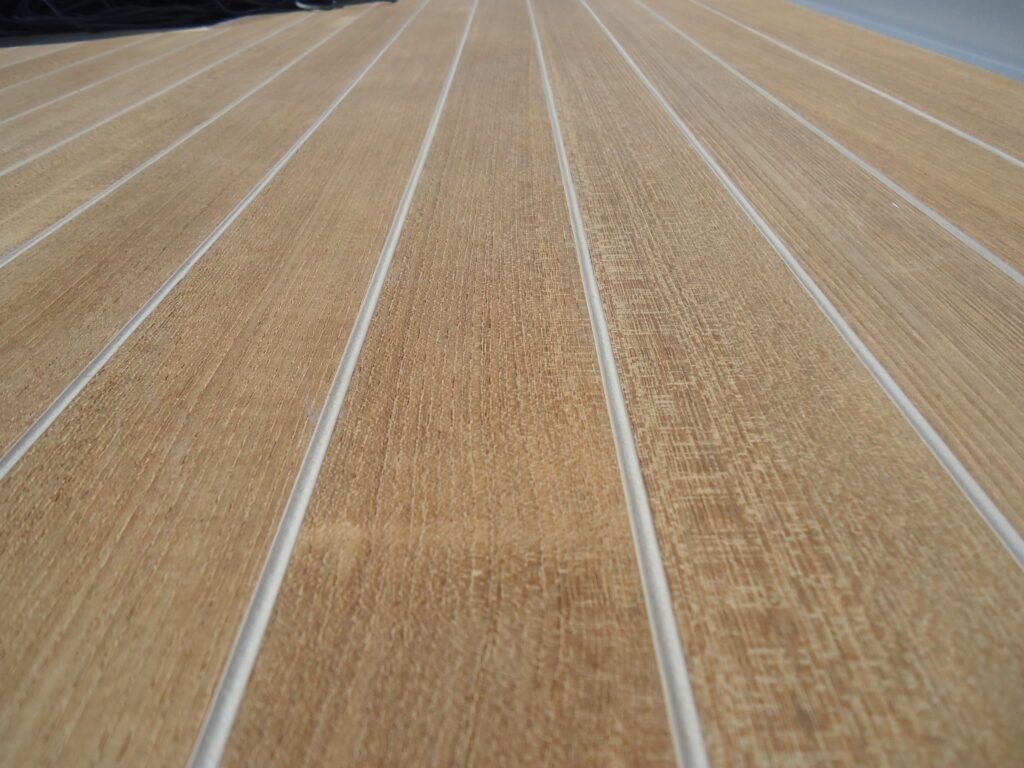
Inadequately filled seams
CURE TIME AND SANDING FOR GRAY AND WHITE CAULKING
Cure time is a function of (1) cross-sectional dimensions of the seam and (2) ambient temperature and humidity of the work area. Conditions of cold or very dry air lengthen cure time. Generally, the caulking cures from the top down at a rate of about 1 to 2 millimeters per day. A seam of ¼” (6.4mm) in normal conditions (~74°F/23°C at 50% relative humidity) will be ready for sanding in 8 to 12 days. For large seams (¼”-¾” or 6.4-19.2mm) or in colder, dryer conditions, allow curing for a minimum of 12 days.
Remember:
Deeper seams require more curing time.
When using white and gray marine caulking, allow additional curing time if the situation permits.
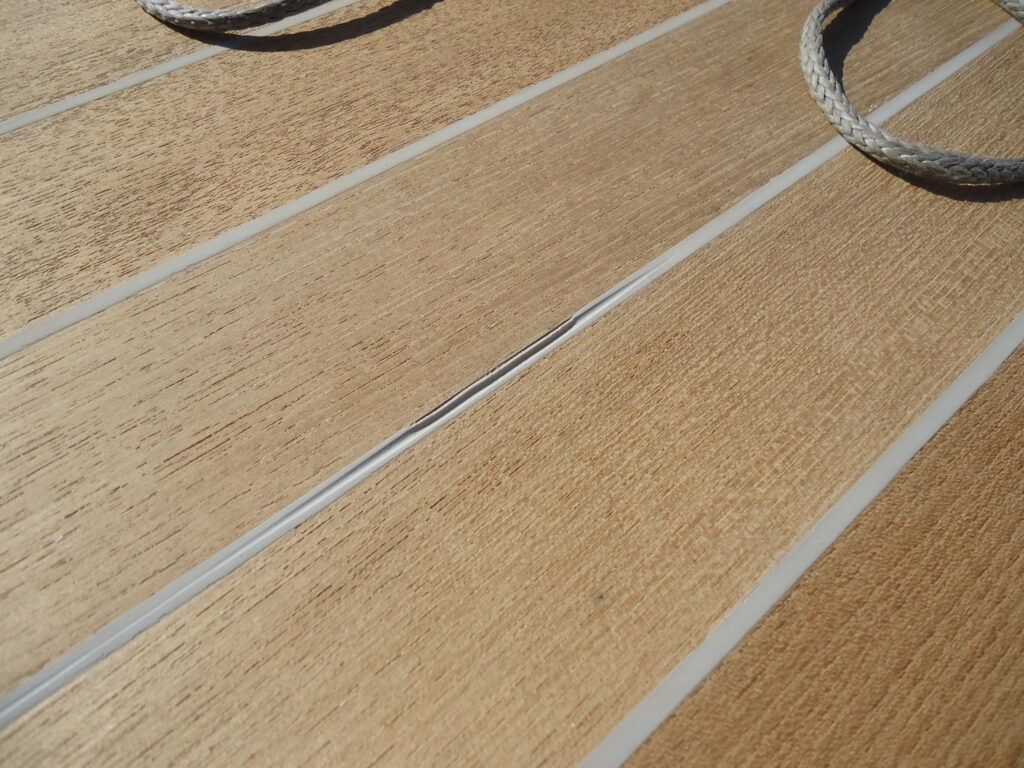
Shrinking and separation
If caulking is not fully cured and prematurely sanded, then shrinkage, deformation, and ‘dragging’ or wrinkling of the caulk surface may occur. This action may also cause premature seam failure. Uncured caulking will absorb the sanding dust as well as other contaminants, causing discoloration and potential compromising of the seam.
If excess caulking is cut away, wait one day before sanding. Freshly cut caulking needs to “oxidize” with outside air so the surface toughens. This helps to create a smooth surface and will be easier to clean. This is especially beneficial for white and gray caulk seams.
When sanding white and gray caulk seams, it is helpful to start with 80 grit and then ‘finish sand’ with 100 or 120 grit sandpaper. This ‘fine sanding’ helps to smooth the caulk and will assist in preventing contaminants from accumulating in the small crevices.
A split seam is another problem with inadequate curing time. When panels (with uncured caulk) are moved before installation, the boards often flex causing a split in the seam’s center.
After-Care Suggestions for Gray & White Caulking
MAINTENANCE
Light-colored deck caulking is similar to other light-colored accessories such as boat cushions and upholstery. Therefore, dirt and contaminants will show more and require more maintenance.
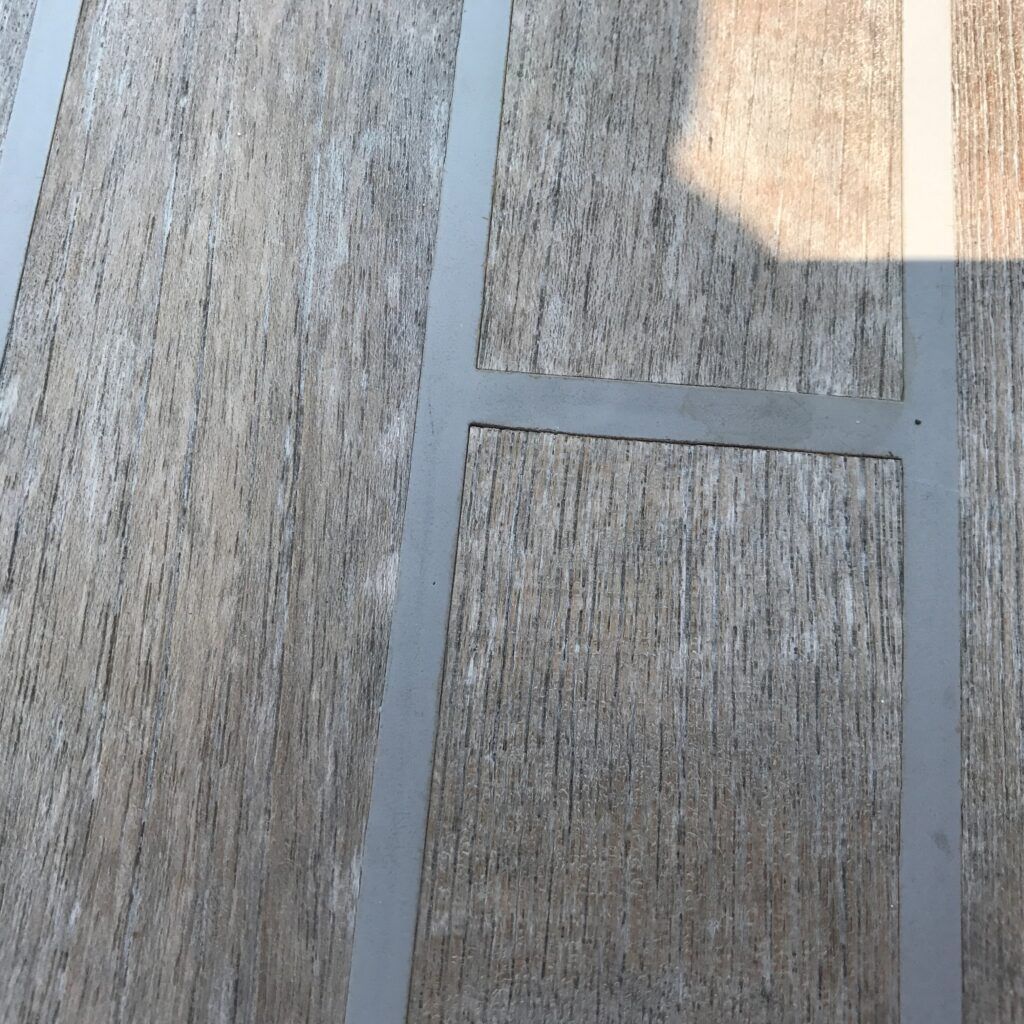
Soiled White Caulk (Look at upper right corner where sunlight illuminates the white color.)
Caulk is a flexible material and seams may raise and lower depending upon the moisture content of the teak. If seams remain high (relative to deck surface level) for more than six months, it may be necessary to sand or cut the seams to plank level. Further, walking on proud seams creates pressure and may cause damage too.
Evaluate the deck periodically and lightly sand to maintain a good appearance and extend its life. Do not power-wash teak decks.
CLEANING
1) NORMAL CLEANING
Use TDS ECO-100 (Powder) and ECO-300 (Liquid) Teak Cleaners, designed to be used as often as desired. They are both U.S. Clean Marina and MARPOL compliant for safe discharge into any waterway or marina. When possible, use these cleaners with medium grit scrubbing pads (e.g., Scotchbrite-type “red” medium grit). These are very effective and will help to smooth the deck.
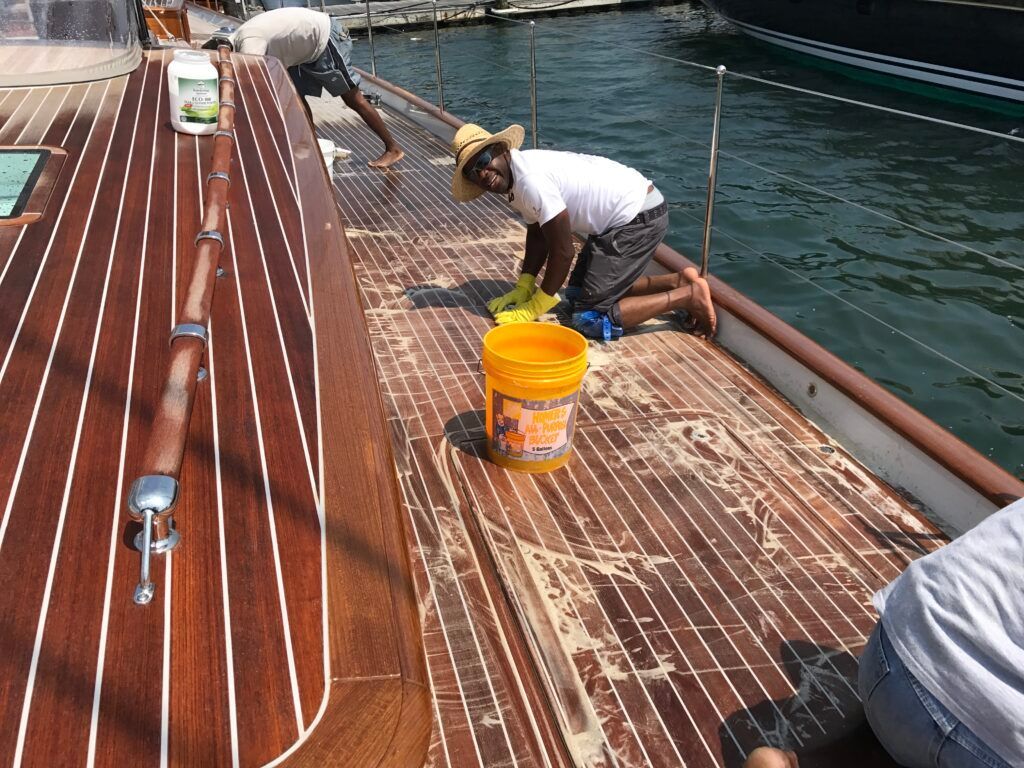
Regular scrubbing across the grain is sufficient between sanding
Clean problematic stains such as diesel, wine, fish blood, etc. immediately with the ECO-100 or ECO-300 Teak Cleaners. If this is not possible, then spot cleaners such as K2R Marine Cleaner and Dawn dish soap can be effective.
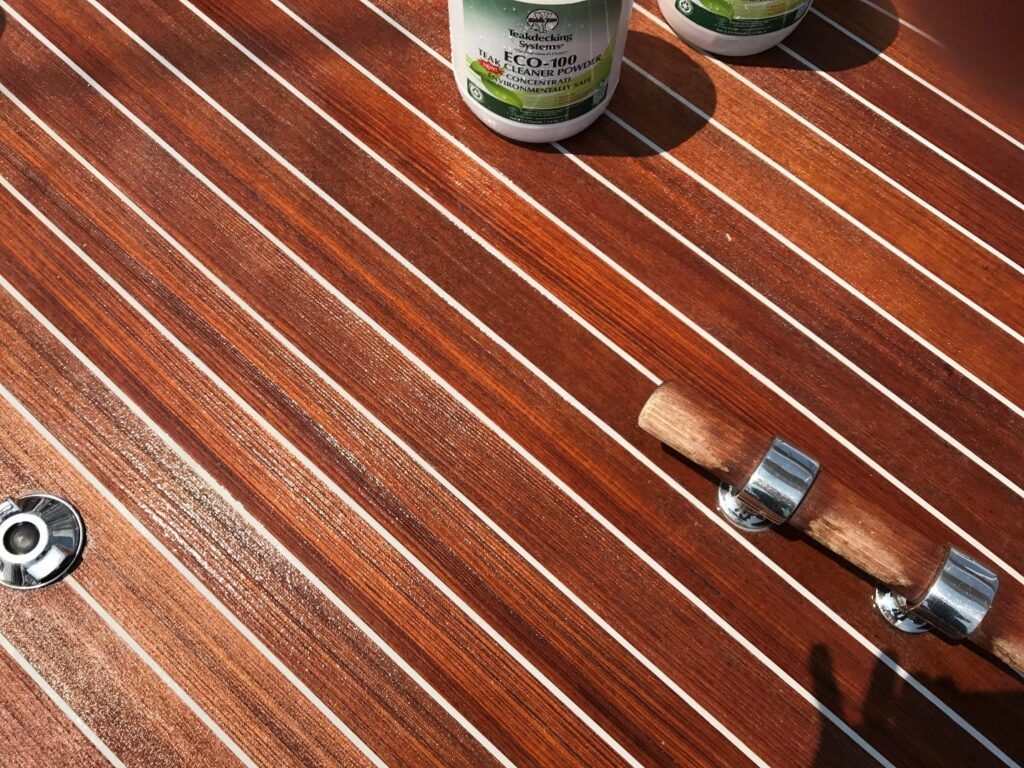
Beautiful clean decks (teak is still wet)
2) Stubborn Stains
A light sanding of the seam with 80 grit sandpaper may remove the stain(s). In order to achieve best results, finish the seam with 100 or 120 grit sandpaper to ensure a smoother finish on the caulk surface.
Teak releases oil naturally, therefore discoloring white and gray caulk. This teak oil is most prominent on new decks and fortunately, it diminishes as the teak ages. In addition, other oils, sealers, and coatings are likely to show more against light-colored caulk too. Dirt, soot, or oily stains left on a deck for an extended time may leach into the caulking and cause staining and discoloration. Note: Varnish will NOT adhere properly to SIS 440 Teak Deck Caulking.
REPAIR
For particularly stubborn stains that are not removable or for gouged/damaged caulk, a repair is easy to make. Cut out a small amount of caulk in a “V” shape and wipe with a clean lint-free rag soaked in acetone. Then, tape and re-caulk the area with SIS 440 Teak Deck Caulking. It will adhere strongly to the old SIS 440 Teak Deck Caulking, making it impossible to separate the old and new caulk areas once cured. In order to help blend the color, lightly sand the repaired area after curing, or wait. Eventually, repairs will be almost impossible to see.
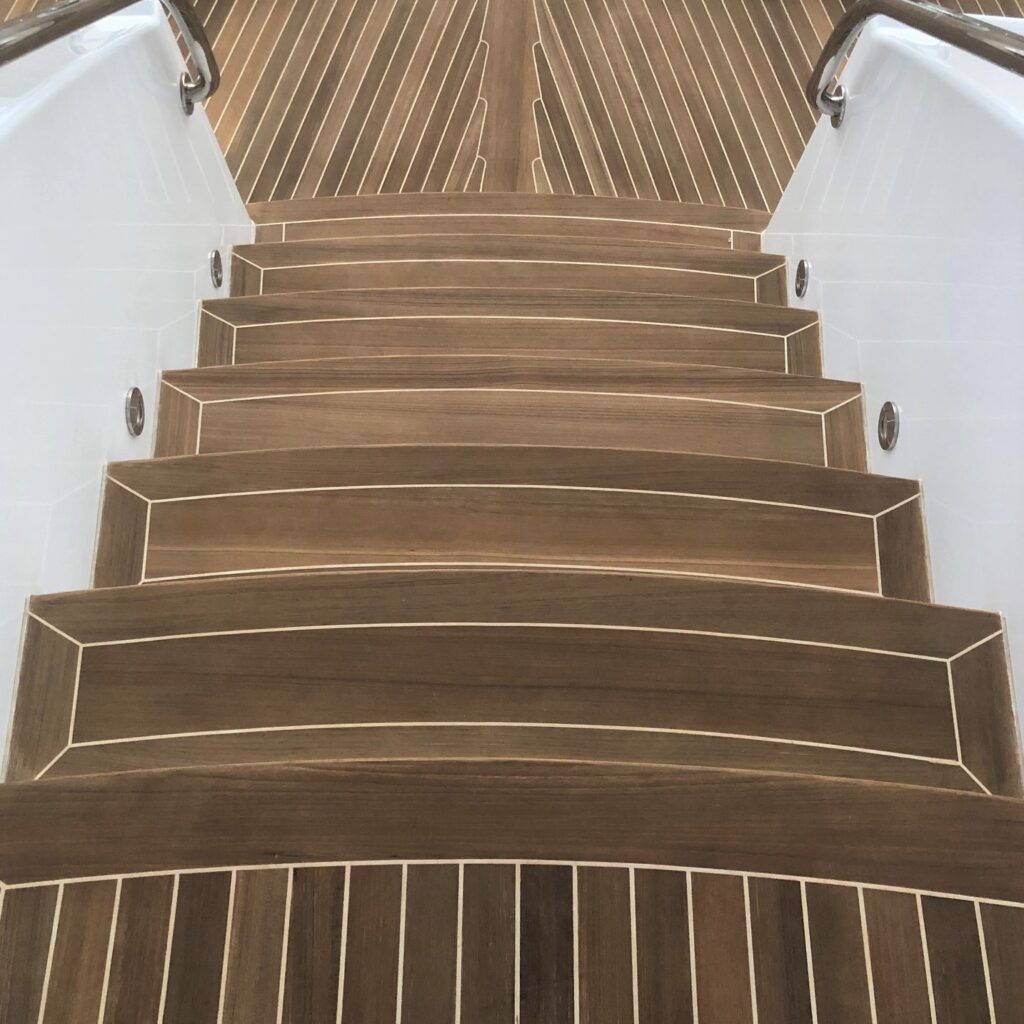
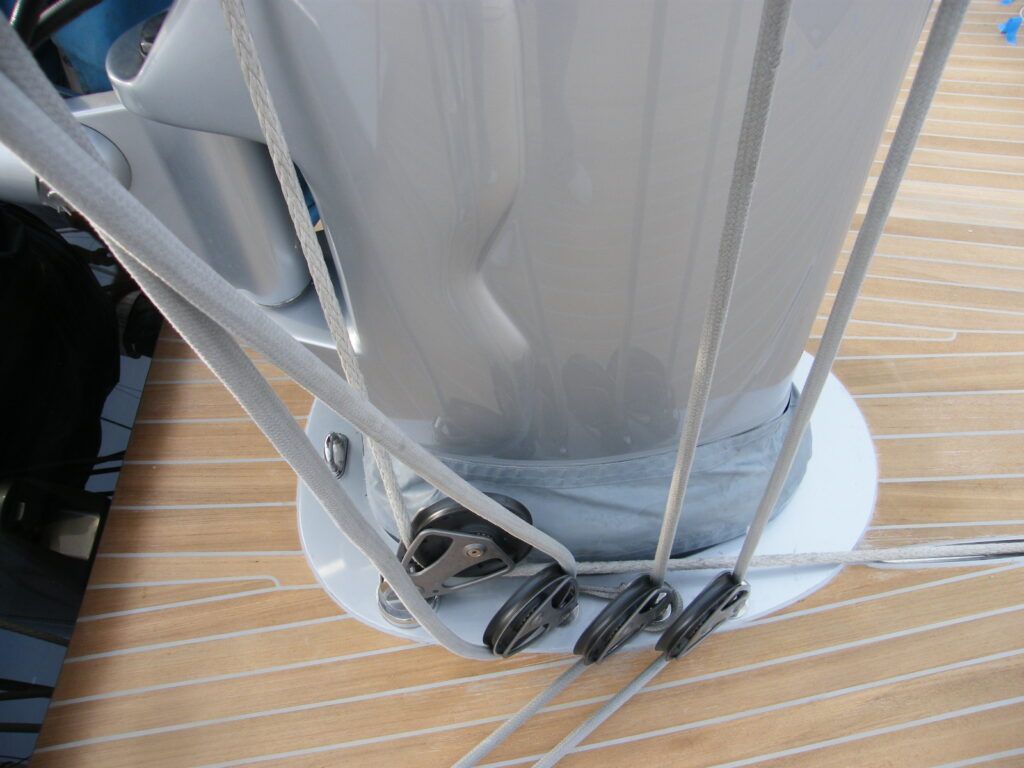
Beautiful white caulk
Gray and white caulking create a beautiful, more contemporary decking style. For long-lasting quality, follow proper installation guidelines as addressed above. Contact us with your questions. We are pleased to share the information that we have learned in the last 38 years.
RESOURCES
“SuperyachtNews Teak Decks: grey caulking vs black caulking” – July 19, 2018
“Maintaining grey and white caulking on deck” – November 1, 2018
Teakdecking Systems articles about caulking
How to Inspect Teak Deck Caulking and Seams
What is the Caulk Yield for Teak Deck Caulking
Read our 16-page Caulking Application Guide for expert tips on marine caulking too.
We are available to answer your questions to ensure the success of your project, so please call or email.
CONTACT US
941-756-0600 – Press “1” for “Products”
ALL PRODUCTS
